

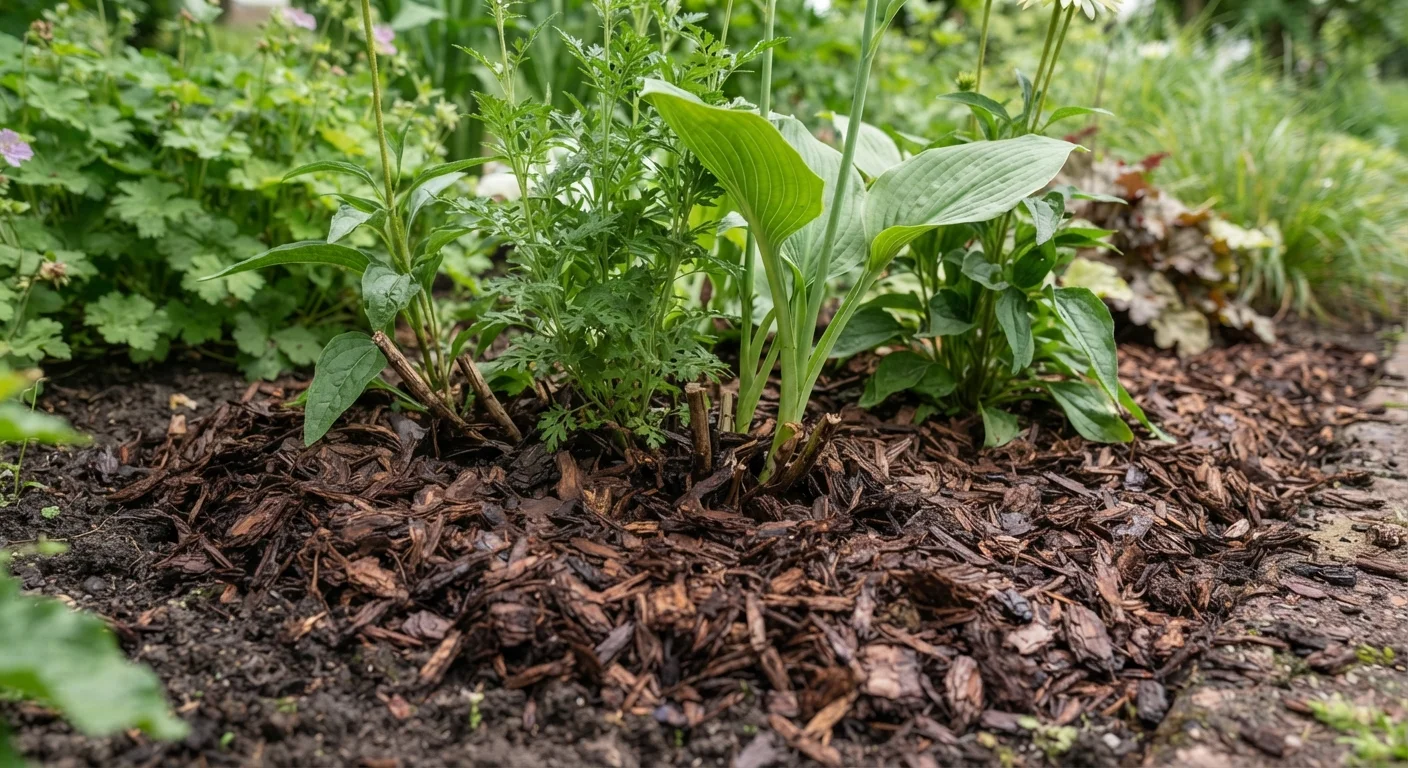
Why Mulching Is Worth Getting Right
Mulch is one of the hardest-working tools in any gardener's arsenal, yet it's often applied carelessly - too thick, too thin, or at the wrong time. Done correctly, mulching reduces watering frequency, suppresses weeds, moderates soil temperature extremes, and in the case of organic materials, gradually improves soil structure as it breaks down. Done poorly, it can trap excess moisture against plant crowns, host fungal problems, and even discourage the rain penetration your plants depend on.
Understanding the mechanics behind mulching helps you move beyond guesswork. Whether you're tending a vegetable bed, a mixed perennial border, or a shrub foundation planting, the same core principles apply. If you're weighing how your bed type affects mulching decisions, our guide to raised beds vs. in-ground gardens covers how soil management differs between setups.
25-50%
Reduction in soil moisture loss with proper mulching
University extension research consistently shows mulched beds retain significantly more moisture than bare soil, reducing supplemental irrigation needs.
2-4 inches
Recommended mulch depth for most garden beds
This range, widely cited by cooperative extension programs, balances effective weed suppression and moisture retention without starving roots of oxygen.
Timing Your Mulch Application
Timing is the factor most gardeners overlook. In spring, the instinct is to mulch early - but applying mulch over cold, still-wet soil traps that cold and delays the soil warming that plant roots need. A better approach is to wait until the soil has warmed to a comfortable working temperature, typically after the last frost date in your region, then mulch to hold that warmth in as temperatures climb.
Fall mulching serves a different purpose: it insulates soil against freeze-thaw cycles that can heave perennial roots out of the ground. Apply it after a hard frost has triggered plant dormancy but before the ground freezes solid. This timing protects roots through winter without encouraging continued top growth that cold weather will damage.
In summer, a light top-up may be needed in high-traffic or windy areas where mulch has thinned, particularly if you're managing a vegetable garden through dry stretches - a topic covered in detail in our drought gardening guide.
Getting Depth Right
The standard recommendation of 2-4 inches of mulch covers most situations, but the nuances matter. At less than 2 inches, most mulches fail to significantly suppress weed germination or retain meaningful soil moisture. Beyond 4 inches, you risk creating an anaerobic (oxygen-depleted) layer that stresses roots and can harbor slugs and rodents.
Fine-textured materials like shredded leaves or compost can compact, so err toward 2-3 inches. Coarser materials like wood chips have more air space and can be applied slightly deeper - up to 4 inches - without the same compaction risk. For seed-starting beds or areas with recently transplanted seedlings, keep depth at the lower end so fragile stems aren't buried.
Avoid the Mulch Volcano
Piling mulch directly against tree trunks or shrub stems - sometimes called a "mulch volcano" - keeps bark chronically moist and invites rot, disease, and insects. Always leave a clear gap of at least 2-3 inches around any stem or trunk. The mulch ring should look like a donut, not a mound.
The most common mulching mistake has a name in horticulture: the "mulch volcano." This refers to piling mulch in a mound directly against a tree trunk, which keeps the bark perpetually moist, promotes rot, and invites boring insects. Always leave a clear gap of at least 2-3 inches between mulch and any stem, trunk, or plant crown.
Organic Mulch Materials: What Each Offers
Organic mulches decompose over time, feeding soil biology and improving texture - a meaningful long-term benefit for most garden beds. Here's how common options compare:
- Wood chips and shredded bark: Long-lasting, widely available, and effective at moisture retention. Best suited to trees, shrubs, and perennial beds rather than vegetable gardens, where their high carbon content can temporarily tie up nitrogen during decomposition.
- Shredded leaves: Excellent free resource that breaks down quickly and adds organic matter. Can mat if applied too thickly; shredding them first helps. Pairs well with composting practices if you have surplus.
- Straw: Lightweight and breathable, making it popular for vegetable gardens. Decomposes faster than wood-based mulches. Confirm it's weed-seed-free before purchasing.
- Compost: Nutrient-rich but breaks down quickly and requires more frequent replenishment. Excellent as a mulch-soil amendment hybrid for vegetable beds.
- Pine needles (pine straw): Attractive and slow to decompose. A modest acidifying effect that suits acid-loving plants; impact on overall soil pH is generally minor, though worth tracking - our soil pH guide explains how to monitor and adjust.
Match your mulch material to the specific needs of the planting zone
Different garden areas have different priorities - vegetable beds need materials that don't tie up nitrogen, while ornamental beds can benefit from longer-lasting wood-based options. Choosing the wrong material can undermine plant performance even when depth and timing are correct.
Always keep mulch several inches away from plant stems and tree trunks
Contact between mulch and plant tissue creates a persistently moist environment that promotes crown rot, fungal disease, and pest harborage. This applies to all plant types but is especially critical for woody plants and trees.
Replenish organic mulch as it breaks down, typically once a year
Organic mulch is constantly decomposing, which is part of its value - but it means depth decreases over time. Failing to top up results in a layer too thin to suppress weeds or retain moisture effectively.
Water the soil before mulching in dry conditions
Mulch applied over dry soil locks in that dry state and makes subsequent rain or irrigation less effective at penetrating to the root zone. Starting with moist soil means the mulch preserves favorable conditions rather than sealing in drought stress.
Shred or chip large organic material before applying as mulch
Whole leaves, large twigs, and unshredded material mat together when wet, forming a dense layer that sheds water rather than absorbing it and can exclude air from the soil surface beneath.
Inorganic Options and When They Make Sense
Inorganic mulches don't improve soil, but they offer permanence that organic materials can't match. Landscape fabric, gravel, crushed stone, and river rock are most useful in low-maintenance areas - pathways, utility beds, or xeriscaped zones - where long-term weed suppression without annual replenishment is the priority.
Landscape fabric works best when used as intended: under inorganic mulch in non-planting zones. Using it in active garden beds causes problems over time as organic matter accumulates on top, creating a weedy layer above the fabric. Living ground covers often achieve the same weed suppression with added ecological value - see our low-maintenance ground cover overview for plant-based alternatives.
The content provided on our blog site traverses numerous categories, offering readers valuable and practical information. Readers can use the editorial team’s research and data to gain more insights into their topics of interest. However, they are requested not to treat the articles as conclusive. The website team cannot be held responsible for differences in data or inaccuracies found across other platforms. Please also note that the site might also miss out on various schemes and offers available that the readers may find more beneficial than the ones we cover.