

Where Caulk Actually Belongs - and Where It Doesn't
Caulk serves one primary function: sealing the gap between two surfaces that meet but don't fully bond - particularly where movement, moisture, or air infiltration are concerns. Knowing where it belongs saves you from both under-caulking (leading to water intrusion and drafts) and over-caulking (trapping moisture or causing adhesion failures).
Essential caulking locations in a home:
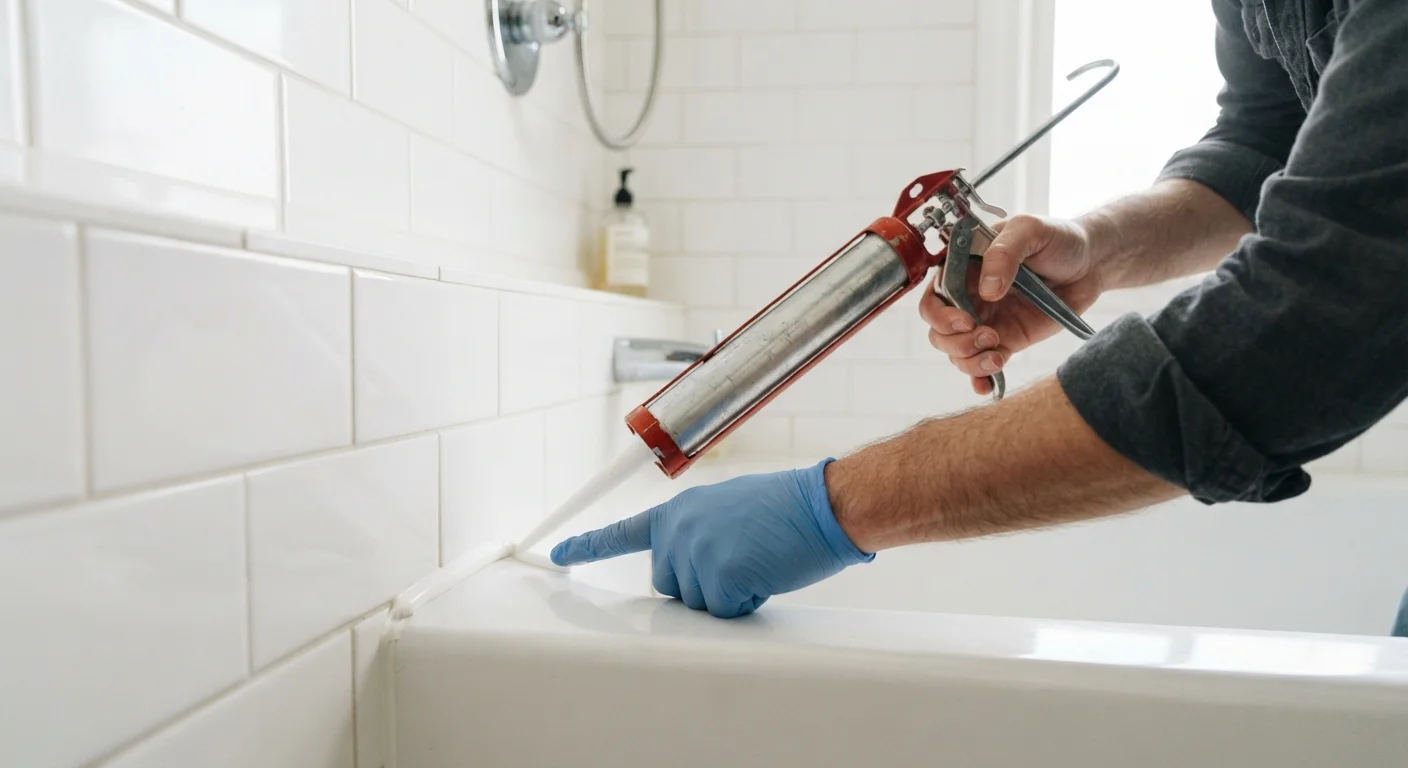
- Along the perimeter of tubs, showers, and sink basins where they meet tile or countertop
- Around window and door frames, both inside and outside
- Where interior trim meets walls (baseboards, crown molding, door casings)
- Around penetrations through walls or floors: pipes, electrical boxes, HVAC vents
- At the top of exterior siding where it meets soffit or trim
Caulk is not a substitute for grout between tiles. It belongs in the change-of-plane joints - the corners where the floor meets the wall, or where a tub deck meets a tiled surround. For more on the relationship between caulk and grout, see why grout cracks and what to do about it.
Caulking gun
Dispenses caulk from the tube at a controlled, steady rate for even application.
Utility knife or oscillating tool
Cuts through and removes old, hardened caulk from joints without damaging the surrounding surface.
Caulk remover tool (plastic or metal)
Scrapes out softened or cut caulk residue from the joint channel.
Painter's tape
Masks both sides of the joint to produce clean, straight caulk lines.
Denatured alcohol or rubbing alcohol
Cleans silicone residue and degrease surfaces before caulking.
Caulk finishing tool or spoon
Shapes and smooths the freshly applied bead for a professional finish.
How to Know When Caulk Has Failed
Caulk doesn't last forever. The typical lifespan of a well-applied silicone caulk joint in a wet area is five to ten years, though poor application or extreme conditions can shorten that significantly. Recognizing failure early prevents costly water damage behind walls and under floors.
Signs that caulk needs replacing:
- Cracking or shrinking: The bead has pulled away from one or both surfaces, creating a gap - even a hairline opening lets water in over time.
- Peeling or lifting: The caulk is no longer adhered along its length, often caused by moisture under the original application.
- Discoloration or dark spots: Pink, black, or gray staining that won't clean off usually indicates mold growth within the caulk body itself - cleaning won't fix this.
- Hardening and brittleness: Old latex caulk becomes rigid and loses its ability to flex with normal building movement.
Never Caulk Over Failed Caulk
Applying fresh caulk on top of old, failing caulk is one of the most common DIY mistakes. The new layer will not bond properly to the compromised surface underneath and will fail even faster. Always remove all existing caulk completely before starting fresh - skipping this step wastes both materials and time.
If you're tackling a broader set of interior repairs - filling nail holes, patching walls - caulk and wall repair work well in sequence. See our drywall repair guide for complementary techniques. And if you're newer to home projects generally, Home Improvement From the Ground Up covers the broader toolkit and mindset.
Step-by-Step: How to Recaulk a Joint
What you will need
Identify the right caulk type for your location
Caulk is not a one-size-fits-all product. The three most common types are:
- Latex (acrylic) caulk: Easy to apply and paint over; best for interior trim, baseboards, window casings, and low-moisture areas.
- Silicone caulk: Highly water-resistant and flexible; the standard choice for tubs, showers, sinks, and most exterior joints.
- Siliconized latex (hybrid) caulk: Combines paintability with improved moisture resistance; a versatile middle-ground for kitchen countertops and less-exposed bathroom areas.
For exterior use, choose a product explicitly labeled for outdoor application - it must withstand UV exposure, temperature swings, and sustained moisture.
Remove all existing caulk completely
Score the old caulk on both sides using a utility knife, being careful not to gouge tile, fiberglass, or wood. Use a caulk remover tool to peel and scrape out the softened bead. For stubborn silicone, a caulk-softening product (available at hardware stores) applied and left for 20-30 minutes makes removal significantly easier.
Remove every trace - even thin film residue will prevent the new caulk from bonding properly.
Clean and dry the joint surface thoroughly
Wipe down the joint channel and surrounding surfaces with denatured alcohol or rubbing alcohol to remove soap scum, oils, cleaning product residue, and mold. Allow the surface to dry completely - at least one to two hours - before applying any caulk. Moisture trapped under fresh caulk is a primary cause of early failure and mold growth behind the bead.
Prepare the caulking gun and cut the nozzle
Insert the caulk tube into the gun and snip the nozzle tip at a 45-degree angle. Start with a small opening - roughly 3/16 inch - which gives you better control than a wide cut. Puncture the inner foil seal with the gun's built-in spike or a long nail. Before starting on the actual joint, test the flow on a piece of cardboard and adjust your cutting angle or hand speed accordingly.
Apply painter's tape (optional but helpful)
If you want crisp, professional-looking lines - particularly in high-visibility areas like tub surrounds or window frames - apply painter's tape on both sides of the joint, leaving just the gap exposed. Press the tape edges firmly so caulk cannot bleed underneath. You'll remove the tape immediately after smoothing the bead, before the caulk skins over.
Apply and smooth the caulk bead
Hold the gun at a 45-degree angle and move steadily along the joint in one continuous pass, maintaining consistent pressure on the trigger. Apply enough caulk to slightly overfill the gap - you'll smooth it into shape immediately after. Avoid stopping and starting, which creates lumps and inconsistencies.
Once the bead is laid, smooth it immediately using a wet fingertip or finishing tool in a single, continuous stroke. If you used tape, pull it away at a 45-degree angle while the caulk is still wet.
Allow full curing time before exposing to water or stress
Latex caulk typically skins over within 30 minutes but needs 24 hours to cure fully. Silicone caulk often requires 24-48 hours before water exposure - check your specific product's label. Avoid using the shower, running the sink, or painting over the joint until curing is complete. Premature exposure is one of the most common reasons fresh caulk peels or pulls away at the edges.
The Wet-Finger Smoothing Trick
Before smoothing fresh caulk, wet your fingertip with a small amount of water (for latex caulk) or denatured alcohol (for silicone). This prevents the caulk from sticking to your skin and produces a cleaner, more consistent bead in a single pass. Work continuously from one end to the other - stopping mid-joint creates ridges.
Ventilate the Space Before You Start
Many caulk formulas - especially silicone and some specialty products - release fumes during application and curing. Work in a well-ventilated area, open windows, and run an exhaust fan if working in a bathroom or enclosed space. Check the product label for specific ventilation requirements before you begin.
The content provided on our blog site traverses numerous categories, offering readers valuable and practical information. Readers can use the editorial team’s research and data to gain more insights into their topics of interest. However, they are requested not to treat the articles as conclusive. The website team cannot be held responsible for differences in data or inaccuracies found across other platforms. Please also note that the site might also miss out on various schemes and offers available that the readers may find more beneficial than the ones we cover.