

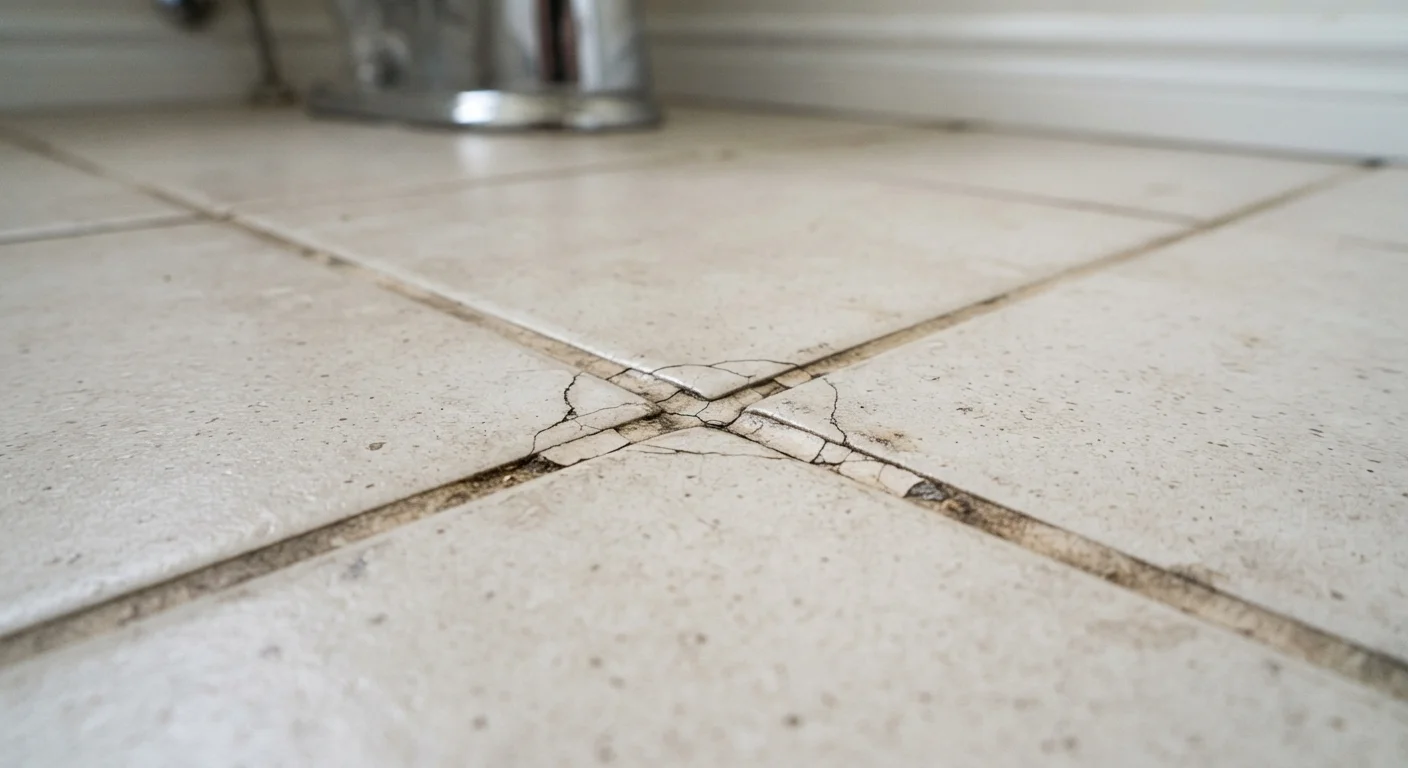
What's Really Behind Grout Cracks
Grout cracks are rarely just a cosmetic nuisance. In most cases, they point to something happening beneath the tile - movement in the substrate, minor structural shifts, or moisture cycling through the floor or wall assembly. Understanding the root cause is essential before you attempt any repair, because patching over an unresolved problem almost guarantees the crack will return.
The most common underlying causes include:
- Substrate movement: Wood subfloors flex naturally with seasonal humidity changes. When tiles are installed over a subfloor that has too much deflection (bounce or give), the grout bears the stress and eventually cracks.
- Improper installation: Tiles laid with too little adhesive coverage, uneven troweling, or on an unlevel surface develop voids beneath them. These hollow spots concentrate stress in the grout lines.
- Thermal expansion: Tile and grout expand and contract at different rates. Without proper expansion joints at perimeter edges and transitions, the assembly has nowhere to move and the grout gives way first.
- Premature grout cure: Grout walked on or exposed to water before it fully cures is significantly weakened and prone to early cracking.
Identifying which of these applies to your situation guides every decision that follows - including whether a DIY patch is appropriate or a licensed tile installer should assess the work.
Common Mistakes Homeowners Make When Dealing With Cracked Grout
Regrouting looks straightforward, and in many cases it is - but several avoidable errors turn a simple repair into a recurring headache. The mistakes below are the ones most likely to undermine your results.
Applying new grout directly over cracked old grout without removing the damaged material.
Why it happens: It looks like a shortcut that saves time and effort, and the surface result seems acceptable at first glance.
Using the wrong type of grout - for example, unsanded grout in wide joints or sanded grout in narrow ones.
Why it happens: Many homeowners grab the first available grout without checking joint width requirements, assuming all grout works the same way.
Skipping the step of checking for and addressing hollow or debonded tiles before regrouting.
Why it happens: Hollow tiles often look and feel fine underfoot, and the problem is invisible without a tap test.
Grouting inside corners, floor-to-wall transitions, and expansion joint locations instead of using flexible caulk.
Why it happens: These joints look the same as field grout joints visually, so it's natural to treat them identically.
Exposing freshly applied grout to water or foot traffic before it has fully cured.
Why it happens: The grout appears dry on the surface within hours, creating a false impression that it is ready for use.
One mistake that often gets overlooked: failing to recognize when a grout joint should actually be a caulk joint. At inside corners, where tile meets a tub, and at floor-to-wall transitions, caulk is the correct material because it accommodates movement. Grouting these locations instead is a setup for repeated cracking. For a deeper look at where caulk belongs and how to apply it cleanly, see our guide to caulking done right.
How to Approach the Repair the Right Way
Once you've identified the cause and ruled out structural issues requiring professional attention, a methodical repair process will give you the best chance of lasting results.
When to Call a Licensed Professional
If tiles are cracking (not just the grout), if large sections of tile feel hollow, or if you notice floor flex or structural movement, do not attempt a DIY repair. These symptoms may indicate subfloor damage, inadequate tile installation, or structural issues that require a licensed tile installer or contractor to properly assess. Attempting surface repairs over a compromised substrate wastes time and materials and can mask problems that worsen over time.
- Remove all damaged grout: Use an oscillating tool with a grout-removal blade or a manual grout saw to clean out the cracked material completely. Leaving old grout in place and applying new grout on top is one of the most common mistakes - the bond will be poor and the repair will fail quickly.
- Check for hollow tiles: Tap each tile around the repair area with a knuckle or a coin. A hollow sound indicates the tile has separated from the adhesive below. Hollow tiles need to be re-set before you regrout, or the problem will recur.
- Clean and dry thoroughly: Remove all dust, debris, and any residual adhesive from the joint. Allow the area to dry completely - moisture trapped beneath new grout disrupts the cure.
- Mix grout to the right consistency: Follow the manufacturer's water ratio precisely. Grout that is too wet is weaker and more prone to shrinkage cracking. Mix only as much as you can work with in 20-30 minutes.
- Cure before exposing to water: Most unsanded and sanded grouts need 48-72 hours before light water exposure, and up to a week before heavy use. Check the product's specific guidance.
- Seal when cured: A penetrating grout sealer helps resist moisture infiltration and staining. Reapply periodically as recommended - typically every one to two years depending on traffic and use.
If cracking reappears within weeks of a careful repair, that is a strong signal the substrate or installation has a problem beyond the surface. At that point, consulting a licensed tile contractor is the most cost-effective path forward.
The content provided on our blog site traverses numerous categories, offering readers valuable and practical information. Readers can use the editorial team’s research and data to gain more insights into their topics of interest. However, they are requested not to treat the articles as conclusive. The website team cannot be held responsible for differences in data or inaccuracies found across other platforms. Please also note that the site might also miss out on various schemes and offers available that the readers may find more beneficial than the ones we cover.