

Assessing the Damage Before You Start
Not all drywall damage is equal, and choosing the wrong repair method wastes time and materials. A quick assessment determines everything that follows.
- Hairline cracks (under ⅛ inch wide): Usually cosmetic and caused by normal house settling or temperature cycling. These respond well to lightweight spackle or a thin coat of joint compound.
- Small holes (up to 4 inches): Doorknob impacts, screw pops, and nail holes fall here. Self-adhesive mesh patches or pre-made plug kits handle these efficiently.
- Large holes (over 4 inches): Require a drywall patch anchored to backing, then taped and mudded like new construction joints.
Before any repair, check whether the damage has an underlying cause - recurring cracks near window or door corners can indicate structural movement or foundation settling. If you notice wide, diagonal cracks or displacement between sections, consult a structural professional before patching cosmetically.
What you will need
Tools and Materials You Will Need
Having everything on hand before you begin prevents mid-project trips to the hardware store and keeps compound from drying out while you wait.
Putty knife or drywall knife (4-, 6-, and 10-inch)
Applies and feathers joint compound at progressively wider widths for a smooth, blended finish.
Joint compound (all-purpose or lightweight)
Fills gaps, covers mesh tape, and builds up the repair to match the surrounding wall plane.
Self-adhesive fiberglass mesh tape
Reinforces joints and patch edges to prevent cracking after the compound dries.
Drywall patch kit or backer board
Provides structural support for larger hole repairs where there is no existing framing behind the opening.
120-grit and 220-grit sandpaper or sanding sponge
Smooths dried compound between coats and prepares the final surface for priming.
Drywall or PVA primer
Seals the porous compound surface so paint adheres evenly across the repaired area.
Drywall saw or utility knife
Cuts damaged sections cleanly for large-hole repairs requiring a new drywall insert.
Sanding pole or block
Extends reach for wall and ceiling repairs and provides consistent pressure while sanding.
For texture matching - a common challenge once the repair is smooth - study the existing wall surface closely. Knockdown, orange peel, and skip-trowel textures each require different application tools and techniques. A small test area on cardboard first saves a lot of re-sanding.
Step-by-Step Repair Instructions
Follow these steps in order. Skipping ahead - especially between drying stages - is the most common reason amateur repairs look patchy under paint.
Prepare the Damaged Area
For hairline cracks, widen the crack slightly with a utility knife or screwdriver tip - a V-shaped groove gives compound something to grip. Remove any loose paint, crumbling drywall, or protruding fasteners. For holes, clear away torn paper facing and any loose gypsum until you have a clean, solid edge around the perimeter.
Install Backing for Holes Larger Than 4 Inches
Cut the hole into a clean rectangle using a drywall saw. Cut a backer board (a strip of 1×3 or plywood) several inches longer than the hole's height, insert it through the opening, and secure it to the back of the existing drywall with screws on each side of the hole. Cut a drywall patch to fit the opening exactly and attach it to the backer with drywall screws, keeping screw heads just below the surface without breaking the paper.
Apply Mesh Tape and First Coat of Compound
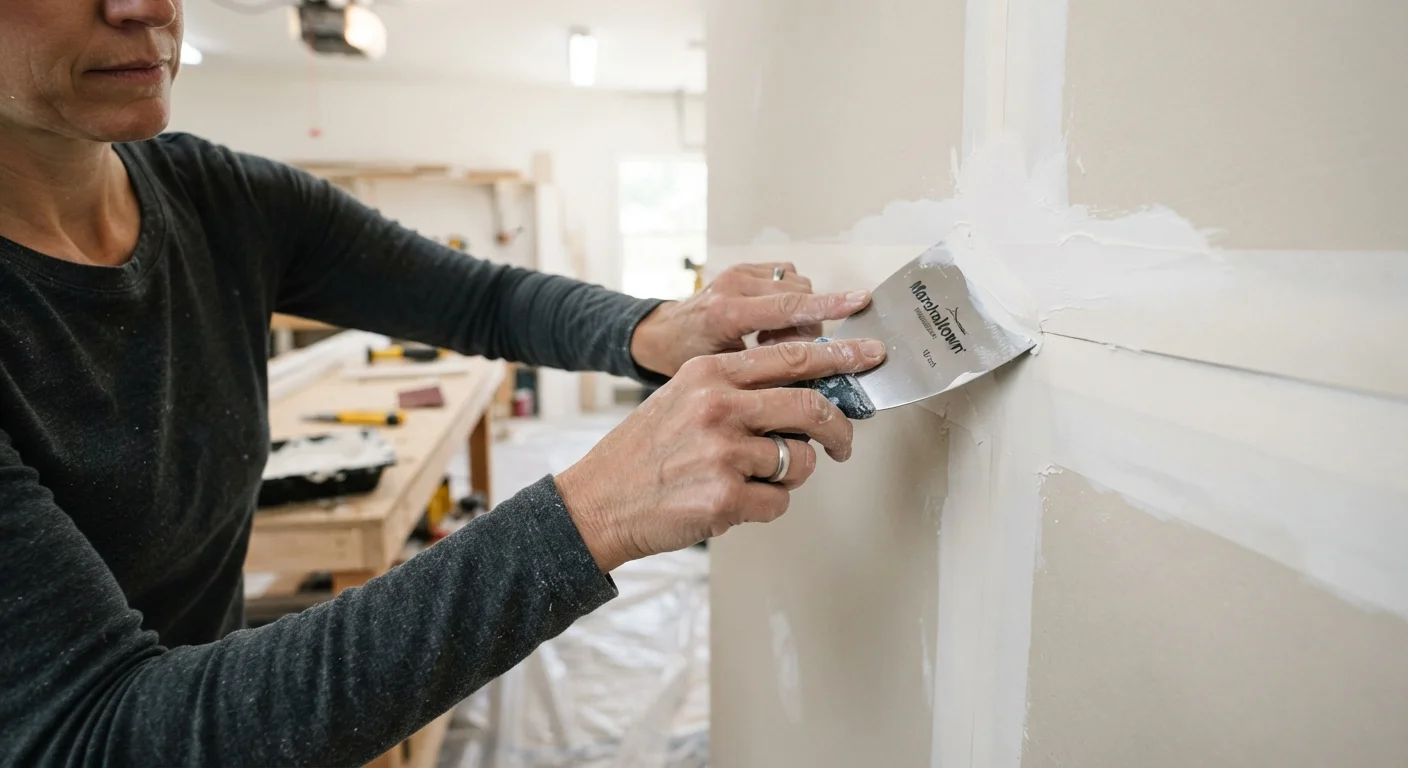
Place self-adhesive fiberglass mesh tape over all seams and edges. Apply the first coat of joint compound using a 4- to 6-inch knife, pressing it firmly into the tape and feathering the edges outward 2 to 3 inches. For hairline cracks, apply a thin skim coat directly after taping. Allow this coat to dry completely - the compound will shift from dark gray to a uniform bright white when fully cured.
Sand and Apply Second and Third Coats
Once the first coat is fully dry, sand lightly with 120-grit paper to knock down ridges and trowel marks. Wipe away dust with a damp cloth. Apply a second coat with a wider 8- to 10-inch knife, extending edges 2 to 3 inches further than the first coat. Let dry, sand again, then apply a thin third coat with a 10- to 12-inch knife for final leveling. The goal is a surface that is flush with the surrounding wall and invisible to raking light.
Final Sand, Prime, and Paint
Once the final coat is dry, sand smooth with 120-grit, followed by 220-grit for a polish-ready surface. Wipe down with a lightly damp cloth to remove all dust. Apply a coat of drywall or PVA primer and allow it to dry fully before painting. Match the existing wall texture before priming if texture is needed - spray texture in a can works for light orange peel, while skip-trowel and knockdown effects require practice with a drywall knife or texture brush.
Once the final coat is fully cured and sanded, prime the repair with a drywall or PVA primer before painting. Skipping primer causes the repaired area to absorb paint differently than the surrounding wall, leaving a dull spot or uneven sheen that is visible even after multiple paint coats. For related sealing work around trim and fixtures, see our guide to caulking for complementary finishing techniques.
Common Mistakes and How to Avoid Them
Even straightforward repairs can go sideways. These are the pitfalls most likely to produce a visible, unprofessional result.
- Applying compound too thick in one pass
- Thick layers crack as they dry. Apply three thin coats instead, letting each dry completely - typically 24 hours under normal indoor conditions, longer in humid climates.
- Not feathering the edges
- Hard compound edges telegraph through paint. Blend each coat outward with a progressively wider knife - 4-inch for first coat, 6-inch for second, 10- to 12-inch for final - so the transition is gradual.
- Sanding too aggressively
- Over-sanding raises the paper face of adjacent drywall, creating a fuzzy texture that soaks up paint unevenly. Use 120-grit paper with light, circular strokes and stop when the surface feels smooth to the touch.
- Skipping primer
- Joint compound is porous and will visibly pull paint away from neighboring areas if not sealed first. A single coat of drywall primer is non-negotiable for a seamless result.
Check Repairs Under Raking Light
Before priming, hold a work light or flashlight at a low, oblique angle across the repaired surface. This raking technique reveals low spots, ridges, and uneven edges that are invisible under direct overhead lighting. Touch up any imperfections with a thin skim coat before moving on - catching them now is far easier than fixing them after paint.
The content provided on our blog site traverses numerous categories, offering readers valuable and practical information. Readers can use the editorial team’s research and data to gain more insights into their topics of interest. However, they are requested not to treat the articles as conclusive. The website team cannot be held responsible for differences in data or inaccuracies found across other platforms. Please also note that the site might also miss out on various schemes and offers available that the readers may find more beneficial than the ones we cover.