

Why a Full Remodel Isn't Always the Answer
A full bathroom gut renovation - demolishing tile, relocating plumbing, replacing the tub - can easily run into five figures before you factor in permits, labor, and unexpected structural surprises. For most households, that level of commitment isn't always practical or necessary. The good news is that a bathroom's look and feel depend far less on its bones than on its surfaces, fixtures, and organization.
Targeted upgrades address the specific elements that make a bathroom feel dated, cramped, or uninviting - without tearing anything apart. Whether your concern is dim lighting, grimy grout, or countertop chaos, there are proven approaches that stop short of a full remodel. If you're new to home projects in general, this first-timer's orientation is a useful starting point before picking up any tools.
Replace or Refinish Hardware
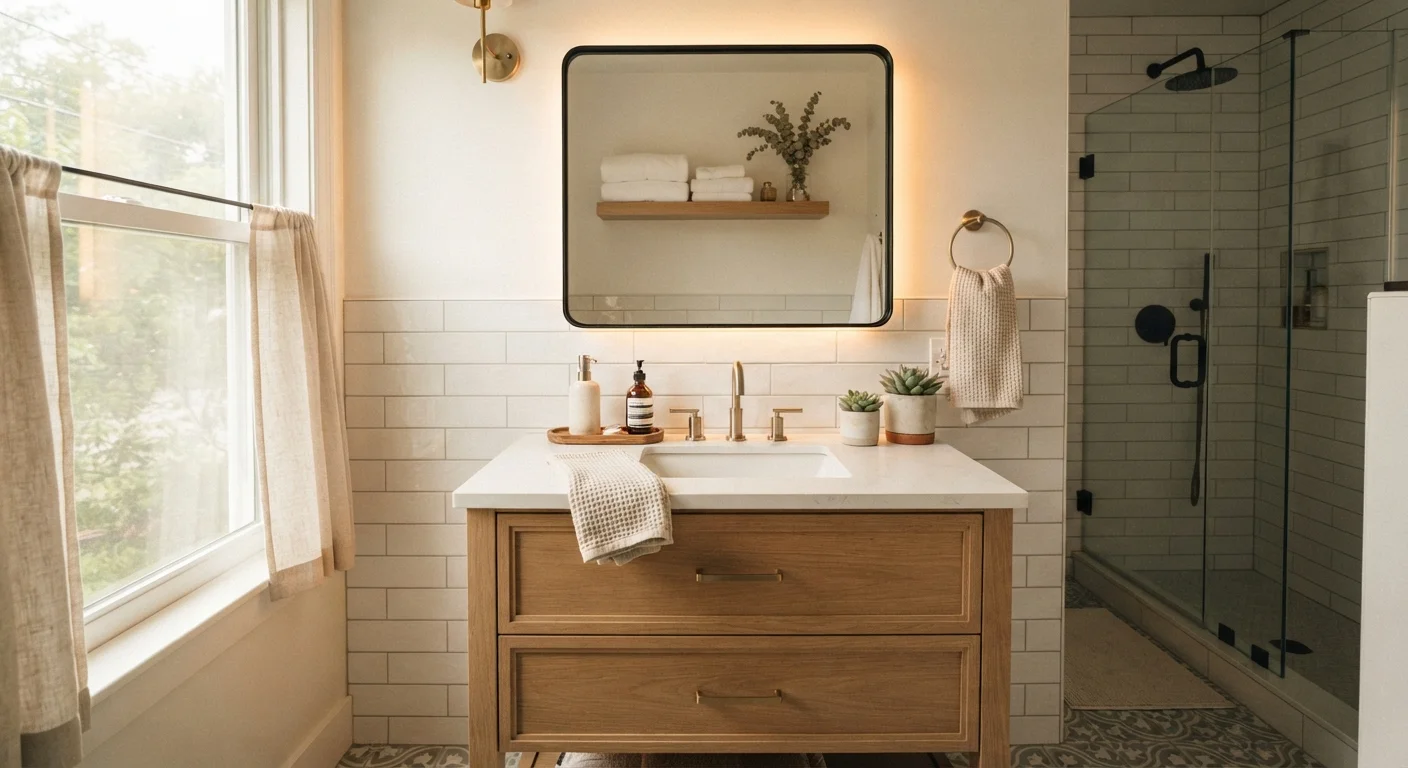
Cabinet pulls, towel bars, toilet paper holders, and robe hooks are among the smallest items in a bathroom - and among the most visually noticed. Mismatched or corroded hardware is one of the fastest signals that a space feels old. Swapping everything to a consistent finish (brushed nickel, matte black, or warm brass are current examples) creates a cohesive look that reads as intentional rather than accumulated.
This is a straightforward DIY project requiring only a screwdriver in most cases. Before purchasing replacements, measure existing hole spacing on cabinet hardware so you don't need to drill new holes. Focus on matching finishes across every metal element in the room, including the faucet if possible.
Consistent hardware finishes create a cohesive look that reads as intentional, not accumulated.
Upgrade the Vanity Lighting
Builder-grade globe bar lights are common in American bathrooms and are frequently the single element making a space feel cheapest. Replacing a vanity light with a fixture that provides more even, flattering illumination changes how both the room and its occupants look. Side-mounted sconces flanking a mirror reduce shadows better than overhead bars alone.
Light fixture swaps are manageable DIY work if you're comfortable turning off the circuit breaker and connecting basic wiring. If you're not, this is a reasonable task for a licensed electrician. Either way, choose bulbs with a color temperature between 2700K and 3000K for a warm, accurate light that suits grooming tasks.
Replacing a builder-grade vanity light is one of the highest-impact upgrades per dollar in any bathroom.
Regrout and Recaulk Surfaces
Discolored grout and cracked caulk make even well-designed tile work look neglected. Grout can be deep-cleaned with an alkaline cleaner and a stiff brush; if the staining is too deep, grout pens or colorants can restore a uniform appearance without full regrout. Where grout has cracked or crumbled - especially in wet zones around the tub or shower floor - removing and replacing it is essential, not optional.
Recaulking the seam between the tub and wall, around the toilet base, and along the vanity backsplash is a task most homeowners can do in an afternoon. Use a caulk rated for bathroom use, ideally one with mold-inhibiting properties, and allow full cure time before exposing it to water.
Fresh grout and caulk can make a bathroom look nearly new without touching a single tile.
Swap or Reframe the Mirror
The large, frameless builder mirrors common in many bathrooms often look utilitarian and can make walls feel unfinished. Two approaches work well: replacing the mirror entirely with a framed or shaped alternative, or adding a frame kit directly over the existing mirror. Frame kits designed for this purpose attach without adhesive damage and can significantly elevate the room's aesthetic.
If you go with a new mirror, consider sizing up slightly. A mirror that reaches closer to the ceiling draws the eye upward and makes the wall feel taller. Mirrors with integrated storage (medicine cabinet style) also solve two problems at once.
A framed or oversized mirror draws the eye upward and makes any bathroom feel more intentional.
Apply Moisture-Resistant Paint
Standard interior paint breaks down quickly in humid environments, leading to peeling and mold growth. Repainting with a product specifically formulated for bathrooms - typically labeled as kitchen-and-bath or moisture-resistant - provides a durable finish that handles steam and condensation far better. Even a simple color change from a dated beige to a cooler neutral or a deeper accent can transform how a bathroom feels spatially.
Proper prep matters: clean walls thoroughly, let them dry completely, and use a primer appropriate for glossy or semi-glossy existing surfaces. Ensure the bathroom exhaust fan is functional before painting - good ventilation is both a condition for a lasting paint job and a requirement for the room's long-term health.
Moisture-resistant paint lasts significantly longer in bathrooms than standard interior formulas.
Add Vertical and In-Cabinet Storage
Counter clutter is a leading contributor to bathrooms that feel small and chaotic. Slim over-toilet shelving units, wall-mounted baskets, and drawer organizers inside the vanity can dramatically increase usable storage without touching the walls in any permanent way. This kind of update is especially valuable in shared bathrooms where multiple people's products compete for the same surfaces.
The goal is to assign every item a designated spot, ideally concealed or contained. If your household shares spaces with different organizational preferences, strategies for organizing shared spaces can help find an approach that works for everyone. Also consider editing what's stored in the bathroom - decanted essentials and rotated supplies reduce visual noise immediately.
Assigning every item a contained spot reduces visual noise more effectively than buying more storage.
Putting It All Together
The most effective bathroom refreshes combine two or three of these updates rather than tackling all of them at once. Start by identifying the single element that bothers you most - usually lighting, grout, or hardware - and work outward from there. Layering changes over time also makes it easier to evaluate what's actually working.
Tackle Updates in the Right Order
If you're doing multiple updates, work from top to bottom and wet to dry: lighting first, then painting, then hardware and mirrors, then caulk. This sequence prevents finished work from being damaged by the next task. Save organizational additions like shelving and drawer inserts for last, once all surface work is complete.
Organization plays a bigger role than most homeowners expect. A bathroom with great fixtures but cluttered surfaces still feels chaotic. If your whole home could benefit from a more systematic approach, the room-by-room organization roadmap covers practical strategies for every space, including bathrooms. For daily habits that keep improvements looking fresh, one-in, one-out routines are worth adopting alongside any physical upgrade.
Always check local building codes before replacing exhaust fans or making electrical changes, and consult a licensed plumber or electrician for anything involving water supply lines or panel connections. The upgrades listed here are generally accessible to motivated DIYers, but knowing your limits is part of working confidently.
The content provided on our blog site traverses numerous categories, offering readers valuable and practical information. Readers can use the editorial team’s research and data to gain more insights into their topics of interest. However, they are requested not to treat the articles as conclusive. The website team cannot be held responsible for differences in data or inaccuracies found across other platforms. Please also note that the site might also miss out on various schemes and offers available that the readers may find more beneficial than the ones we cover.